INTRODUCTION:
The very first IPAs started off in England as strong Pale Ales characterized by an increased helping of English hops coupled with higher alcohol. English yeast lends a fruity character to the flavour and aroma, offering a contrast to the earthy and floral English hops. Different from its American counterparts, the English style strikes a balance between malt and hops for a more rounded flavour. It is vastly different from many of the modern American IPAs that we know, and perhaps, enjoy today.
There is an age-old incorrect story that the English IPA style was invented in the late eighteenth century by English brewers who discovered that increased hopping rates helped their beer survive the long sea voyage to India. While it’s true that hops have a natural preservative quality, it isn’t true that the style was specifically created for shipment to India. What was being sent was simply a Pale Ale beer that was already being brewed in England at the time. The dryer style proved to be popular due to the hot Indian climate and eventually (more than 50 years later) in England the beer started to be advertised as “Pale Ale as prepared for India”, which eventually morphed into the “India Pale Ale” name we know today. For details about IPAs and more, read the first few chapters of the book IPA: Brewing techniques, recipes, and the evolution of India Pale Ale by Mitch Steele (former brew master at Stone Brewing). This is a must-have book for any IPA lover.
ABOUT THE INGREDIENTS:
English base malts add biscuit flavours, instead of the more flavour-neutral Domestic 2-Row malts preferred by American brewers that want the hops up front and centre. English IPAs tend to be more on the balanced side with a distinct, often bready, malt character to compliment the hops. While English IPAs are still hoppy up front, they often have a caramel malt body with a smooth, dry finish.
The Heritage Crystal Malt is a classic kilning taken from the original Baird’s Greenwich roasting house in London. This classic slow matured malt produces sweet caramel and toffee flavours from traditional methods used in the 30s and 40s. Amber Malt gives a dry, biscuity flavour to ales and provides a red hue. The Pale Wheat Malt main characteristics are to provide head retention and lacing. The Black Malt is there to provide just an additional level of colouring to the beer. Lastly, you will notice I have used a small amount of Pilsner malt – this was only to use up the last bit of that malt before it went off. It could be replaced by the equivalent weight of pale malt.
English yeasts tend to throw more esters and flavours than the classic American counterparts. This line has certainly blurred over the years with the introduction of new (American) IPA sub-styles such as New England IPAs, which often call for the use of fruity English yeasts. I enjoy the crisp mineral qualities that Wyeast 1028 London Ale adds when coupled with higher sulphate water adjustments. The result is dry and thirst quenching.
English hops such as Target, Fuggle, and East Kent Goldings add subtle earthy, spicy, peppery, and floral flavours. They are much more delicate when compared to the bold pine, tropical fruit, stone fruit, berry, melon, and citrus flavours that American and other New World hops bring to the table.
ENGLISH IPA RECIPE:
Size: 48 Litres (post-boil @ 20C)
Mash Efficiency: 92.9 %
Attenuation: 95%
Calories: 284 kcal per 500 ml
Original Gravity: 1.061 (style range: 1.050 – 1.075)
Terminal Gravity: 1.005 (style range: 1.010 – 1.018)
Colour: 25 EBC (style range: 11.8 – 29.6)
Alcohol: 7.4% ABV (style range: 5% – 7.5%)
Bitterness: 56 IBU (style range: 40 – 60)
MASH:
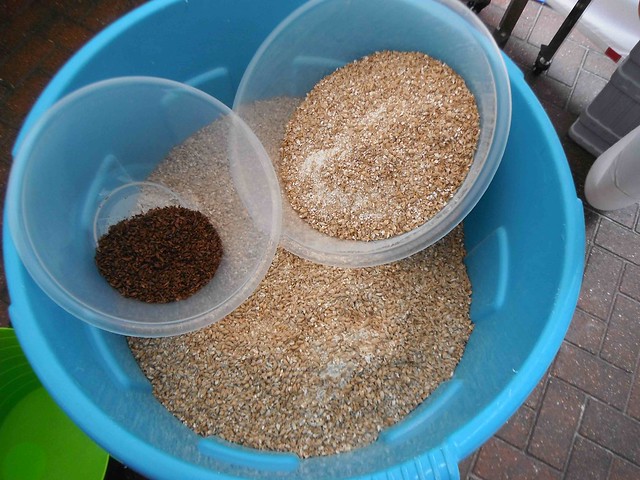
5.1 kg Extra Pale Propino Pale Malt (Muntons) 3 EBC
2.7 kg Pale Ale Malt (Minch) 5 EBC
0.625 kg Pilsner/Lager Malt (Minch) 3 EBC
0.60 kg Heritage 1823 Crystal Malt (Bairds) 140 EBC
0.35 kg Amber Malt (Crisp) 50 EBC
0.35 kg Pale Wheat Malt (Crisp) 3.5 EBC
0.09 kg Black Malt (Crisp) 1300 EBC
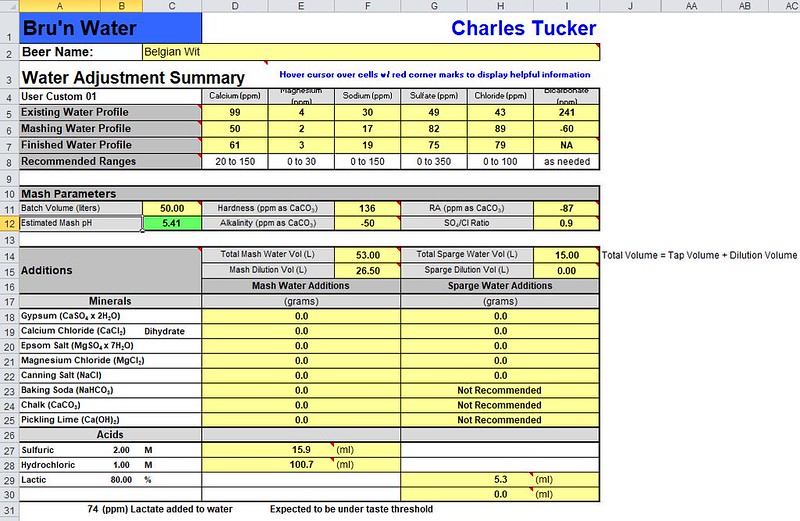
Mash pH 5.46
BOIL:
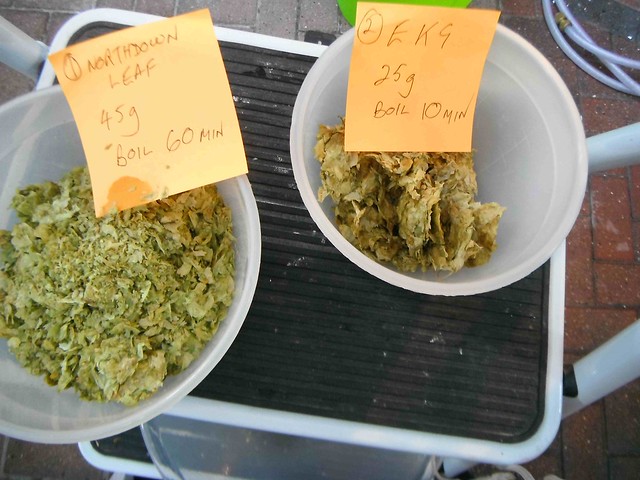
100 g Bob K Target Hops (8.0%) – added during boil, boiled 60 min (39 IBU)
1 Protafloc Tablet (Irish moss) – added during boil, boiled 15 min
120 g Bob K Fuggle Hops (4%) – added during boil, boiled 10 min (11 IBU)
POST-BOIL:
120 g UK East Kent Goldings Hops (5.9%) – added immediately after boil (6 IBU)
YEAST:
2 packets of Wyeast 1028 London Ale yeast
(2 litre starter using 200 g dry malt extract, roughly 500 billion yeast cells)
DRY HOP:
120 g UK East Kent Goldings Hops (5.9%) – added to fermenter near end of fermentation, steeped 3-5 days
NOTES / PROCESS
- Add 500mg potassium metabisulphite to 75 litres water to remove chlorine / chloramine.
- Water treated with brewing salts for a hoppy flavour profile: Ca=110, Mg=18, Na=16, Cl=50, SO4=275 (Basically Randy Mosher’s ideal Pale Ale numbers with slightly less Sulphate).
- 2.6 L/kg mash thickness.
- Single infusion mash at 65C for 90 mins.
- Raise to 76C mashout temperature and hold for 15 mins.
- 90 min fly sparge with 5.6-5.8 pH water (measured at mash temperature). Collect 53 litres.
- Boil for 60 minutes, adding Protafloc and hops per schedule. Lid on at boil-out, start chilling immediately.
- Cool the wort quickly to 19C (I use a one-pass convoluted counterflow chiller to quickly lock in hop flavour and aroma) and transfer to fermenter.
- Aerate well. I use pure oxygen from a tank at a rate of 1 litre per minute for 120 seconds per 19 litres.
- Pitch yeast and ferment at 18-20C (wort temperature).
- Add dry hops once fermentation is nearing completion (i.e. 5 points from terminal gravity) and raise the temperature to 21-22C. Steep hops for 3-5 days while fermentation finishes. Assume fermentation is done if the gravity does not change over 3 days.
- Before packaging you may optionally crash cool to around 6C and rack to a bright tank that has been purged with CO2 to avoid oxygen pickup. Add 1 tsp of unflavoured gelatine dissolved in a cup of hot distilled water per 19 litres of beer, and allow to clear for 2-3 days. Gelatine may “round off” some hop flavour and aroma, so I tend to skip this step with hop forward beers like this.
- Package as you would normally. I rack to cornie kegs that have first been purged with CO2, and then carbonate on the low side (around 2 volumes of CO2) to minimize carbonic bite and let the hop and malt flavours shine through. After 1-2 weeks at serving pressure the kegs will be carbonated and ready to serve. Like all hop forward beers this IPA is best consumed fresh, so feel free to raise the CO2 pressure temporarily to 30-40 PSI to carbonate fast over a 24 hour period, and then turn back down to serving pressure.
PHOTOS OF THE DAY:
Right, now for some pictures of the brewing process. Before the brewing day starts, I have to make sure that there is sufficient yeast for the fermentation. The best way to do this is with a yeast starter. A yeast starter is simply a fancy way of saying that you’re going to grow more yeast cells. A starter is simply a small unhopped beer, whose sole purpose is to allow the yeast to reproduce. You cultivate this yeast and then throw away the resulting ‘beer’, keeping only the yeast. This is usually done by making a small batch of lower gravity (1.036 – 1.040) wort in a flask by boiling dry malt extract (DME) and allowing it to ferment to completion. Lower gravity is best as it maximizes healthy yeast growth. The more yeast you need, the larger the starter you need. Here is a picture of two packs of the liquid yeast made to a 2 litre starter:
I put the starter flask onto a stir plate and run it for 24-48 hours at high speed. You want a nice vortex to make sure the yeast gets plenty of oxygen, as in this video:
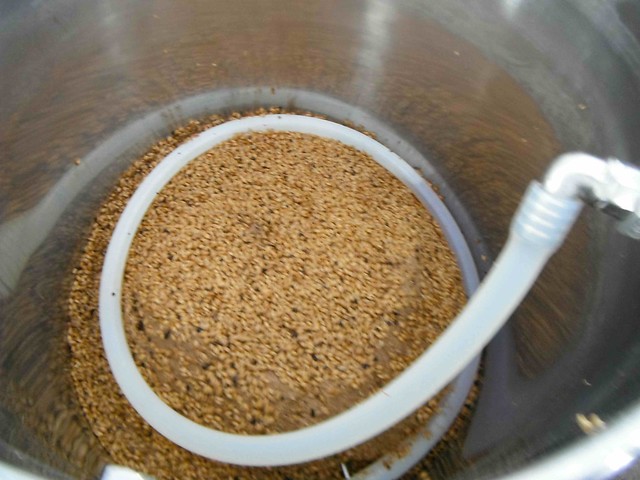
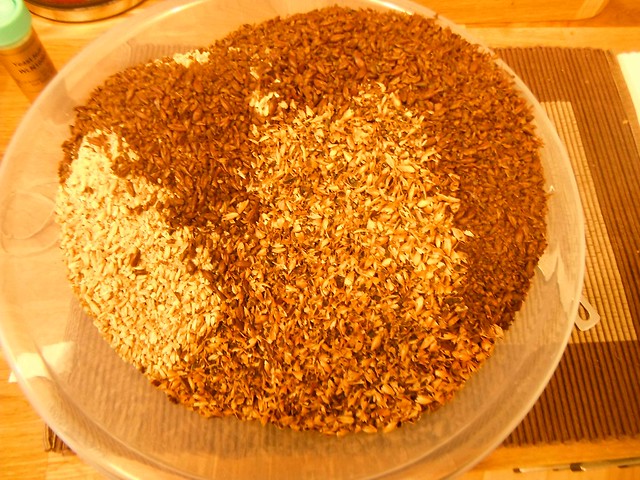
Here we’re grinding the grains for the mash:

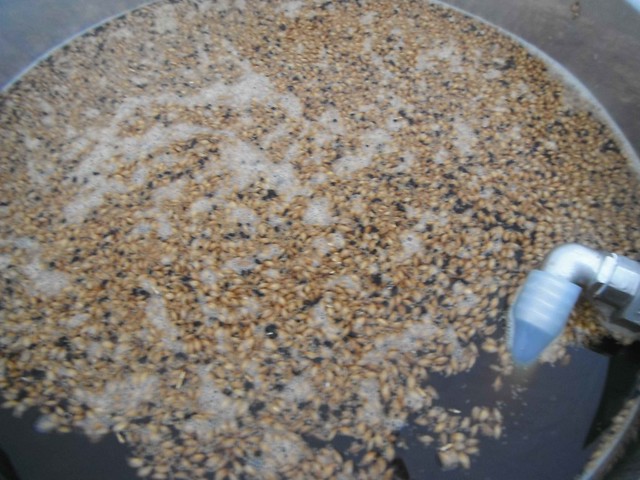
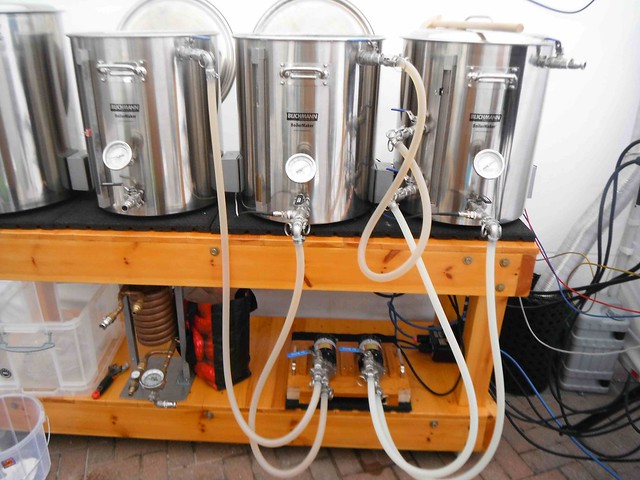
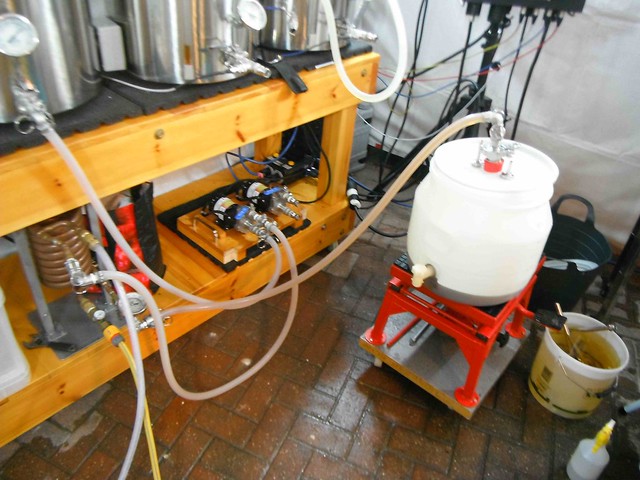
With grains inside the Speidel 50L Braumeister malt tube, I start the mashing process. Here’s a video of the wort rising up the malt tube and recirculating by running out of the top plate and down the side of the malt tube:
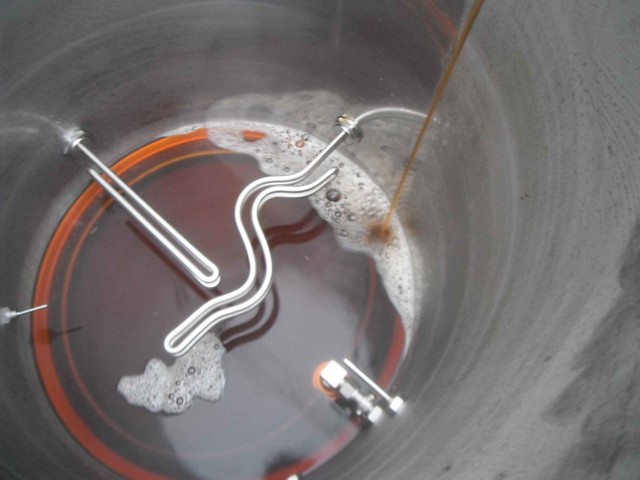
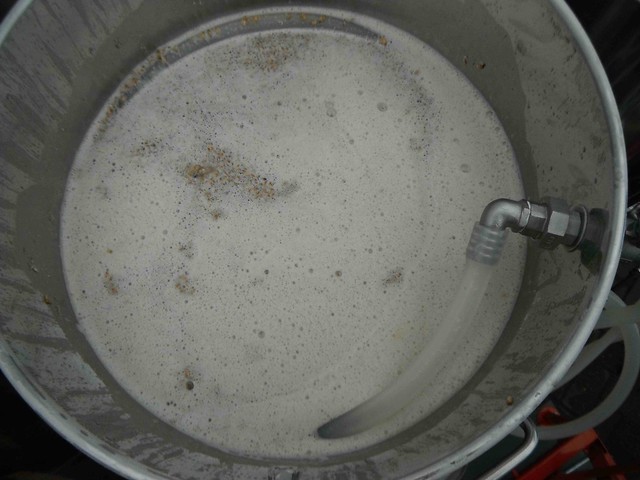
After the mashing is over, the malt tube is removed and the wort is heated to boiling point. When the wort is a little way from boiling the hot break forms. This ‘foop’ is skimmed off with a large sieving spoon:
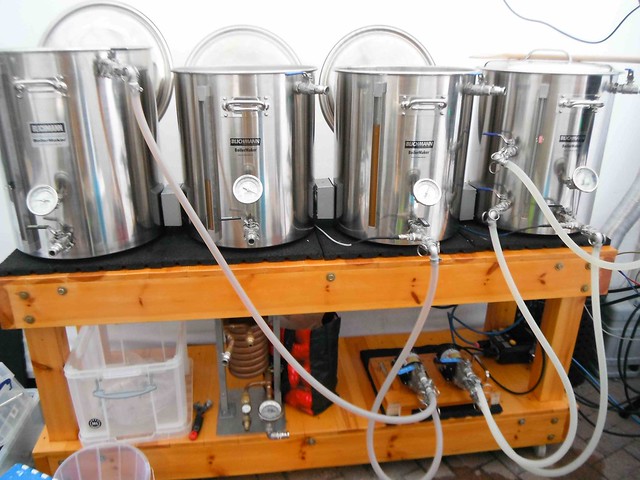
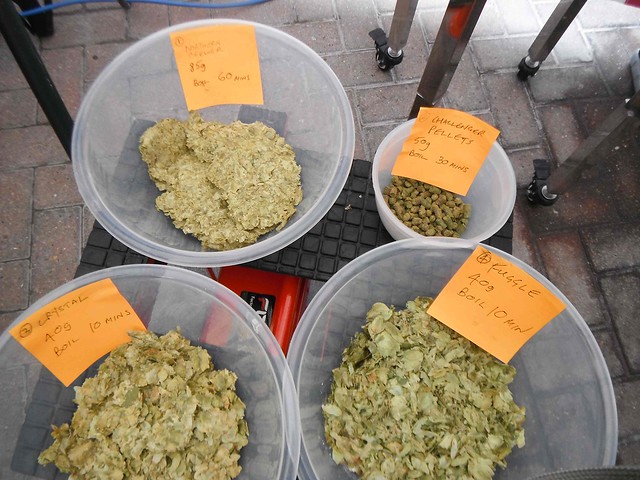
While waiting for the boil to start I get all the hops ready:
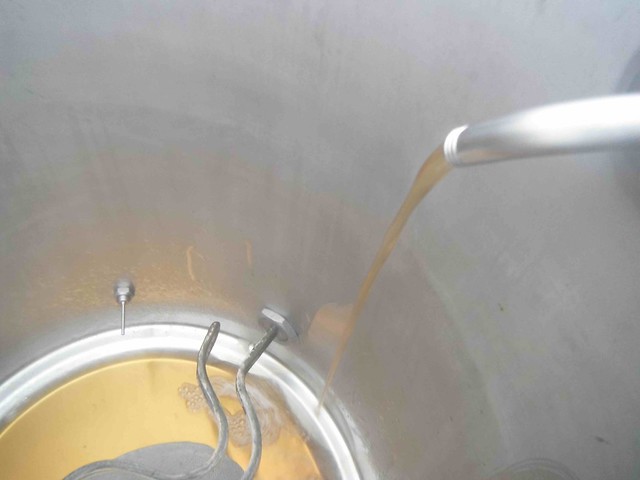
When the boil is over, I pump the boiled wort into the fermenter via a counter-flow chiller to cool it down to yeast pitching temperature:
The temperature I need is 18C:
After draining, this shows all the spent hops left in the boiler:
Great for the compost heap!
Here’s some shots of the conical fermenter before being filled and in its resting place under the stairs. Once under the stairs and out of the way, I connect the heating and cooling pipework up. The aim is to keep it at around 19C for about 10 days. After the first 5 days I add the dry hops to give the beer a typical English hop aroma.


This is what the beer looks like in the fermenter. Just the right colour and nice and clear ready for the yeast to eat the luscious sugars:
Once the beer has finished fermenting it will be crash-cooled to 6C and packaged into two 19L kegs. There will also be about 12 pint bottles.
And finally, the back and front labels I will be using:


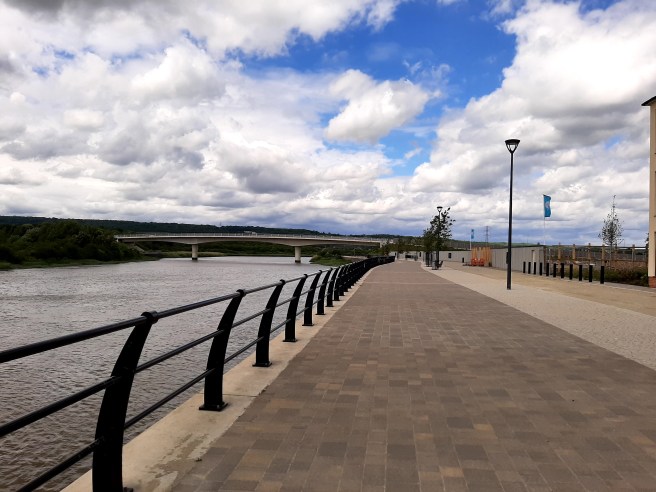
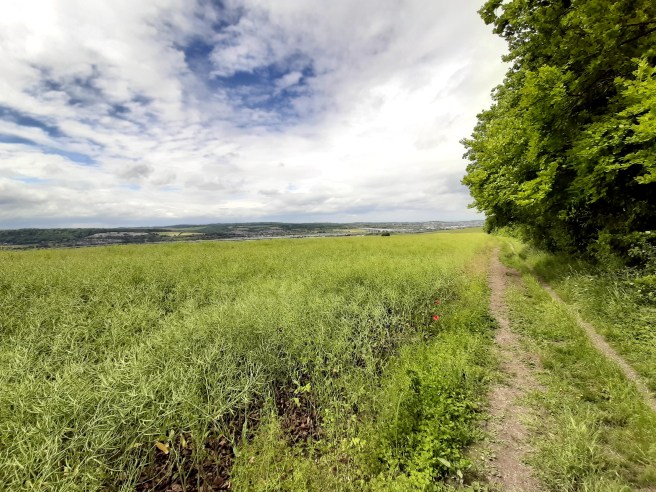
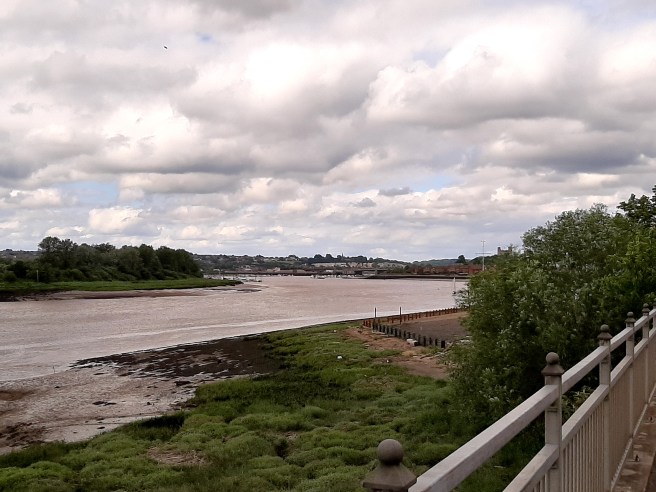
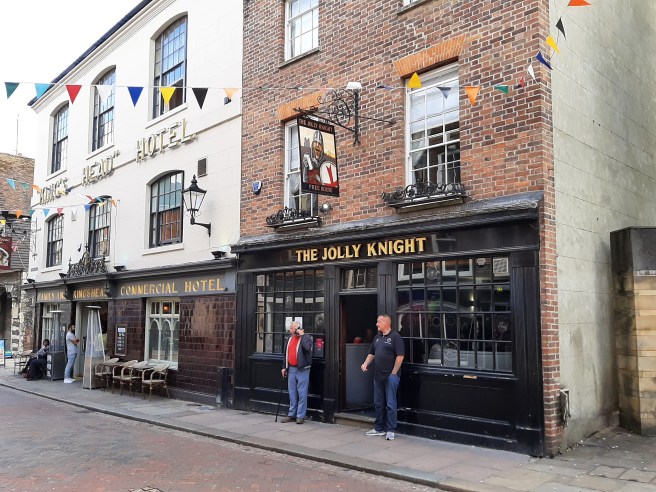
 soon brought me to the new dwellings of Peter’s Village.